Your Cart is Empty

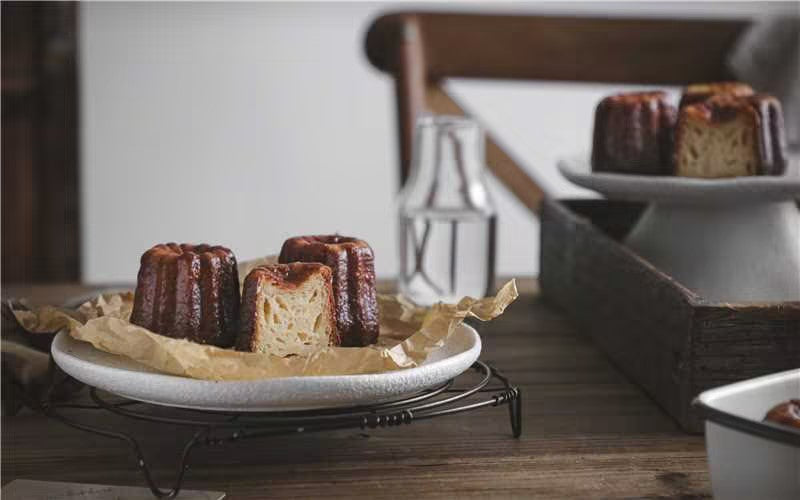
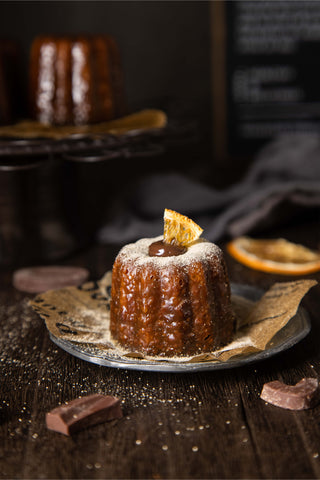
Freshly baked cannele is crispy on the outside and tender on the inside. The dark brown crispy shell is filled with a rich caramel aroma, and the fluffy and moist filling has exquisite honeycomb-shaped holes. The taste is rich in layers, and the aroma of rum and vanilla fills the mouth, making people don’t want to stop.
Cannele is a small French pastry with a super crunchy crust that contrasts beautifully with the pudding-like interior. Cannele is generally made from a combination of vanilla, rum, eggs, butter, sugar and flour. Making them is very challenging and requires patience, practice, focus and perseverance.
So how do we make so delicious and tempting cannele ourselves? Today’s article tells you about the choice of cannele mold and the recipe for making vanilla cannele~
Mold material selection
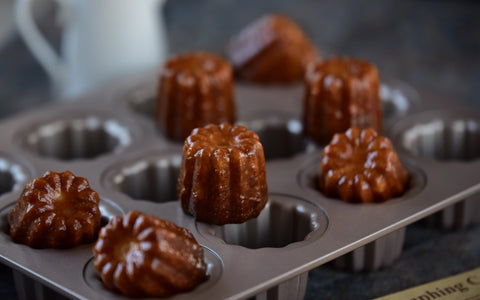
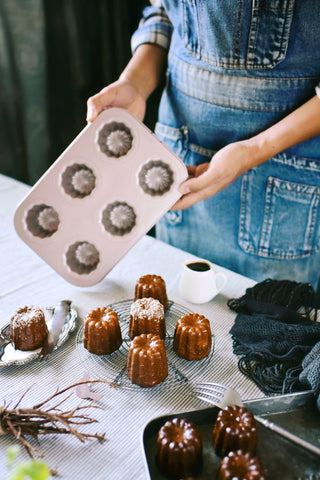
The cannele mold made of carbon steel has very good thermal conductivity and is recommended to those who want to make orthodox cannele. The material is strong and durable, allowing you to create professional-grade crouli that are crispy on the outside and chewy on the inside. CHEFMADE's cannele Mold Adopts thickened 0.8mm carbon steel to accelerate even heat. Strengthened edge is convenient to use. And the structure of our products avoid warping and ensure longer service life. CHEFMADE's cannele mold are coated with food-grade silicone, which does not release harmful substances at high temperatures and is PTFE and PFOA-free.(http://985.so/2cqhs)
The characteristics of stainless steel cannele mold are that it is not easy to rust and is easy to maintain.
Iron molds are easy to rust and require timely maintenance. Stainless steel molds are relatively better.
However, the disadvantage of stainless steel is that it has poor thermal conductivity and is easy to stick on the mold. So if you are using a stainless steel mold, be sure to apply more butter or other release oil before pouring the batter.
Aluminum molds are characterized by good thermal conductivity and high cost performance. Even novices can bake cannele with beautiful colors. Moreover, the aluminum mold is also suitable for refrigerated desserts and can be used in the production of jelly and pudding.
However, aluminum molds have poor durability and are easily deformed.
The characteristic of silicone molds is that they can bake a large batch at a time, and the mold care is also simple. The price is cheap and the threshold is low for novices.
The disadvantage is that the mold itself is very soft and will thermally expand when baked. Therefore, the batter should not be poured too full.
Select mold size and quantity
Cannele made with a large mold has more moist and soft parts inside. On the other hand, Koruri made with a small mold has more hard and crispy skin. Moreover, the large-sized Koruri tastes chewy enough, and the small-sized Koruri is fun to eat one bite at a time. The size and quantity you make depends on your goals.
The dimensions and quantities of CHEFMADE’s cannele molds have been organized below:
CANNELE MOLD 6 WELL(http://985.so/2cquy)
CANNELE MOLD 12 WELL(http://985.so/2cquj)
MINI CANNELE MOLD 12 WELL(http://985.so/2cqu0)
MINI CANNELE MOLD 20 WELL(http://985.so/2cqrw)
Buy according to your needs~
Here is a recipe for makingcannele:
【Vanilla cannele】